

Documents
Documents provide a centralized and secure system for storing, sharing, and managing project-related files. This system offers features similar to Google Drive or Dropbox and is designed for efficient team collaboration.
Use it to share important documents and files with your team.
Benefits
- Easy Access: Access documents from anywhere, at any time.
- Offline Synchronization: Synchronize documents to your device for offline access.
- Versioning: Transparent document version management with the ability to view the entire history.
Permission Requirements
All uploaded documents are automatically accessible to users with the appropriate permissions. Ensure that sensitive files are uploaded with the appropriate access restrictions.
- Uploading Documents: Users must have the Write Documents permission enabled.
- Viewing Documents: Users must have the Read Documents permission enabled.
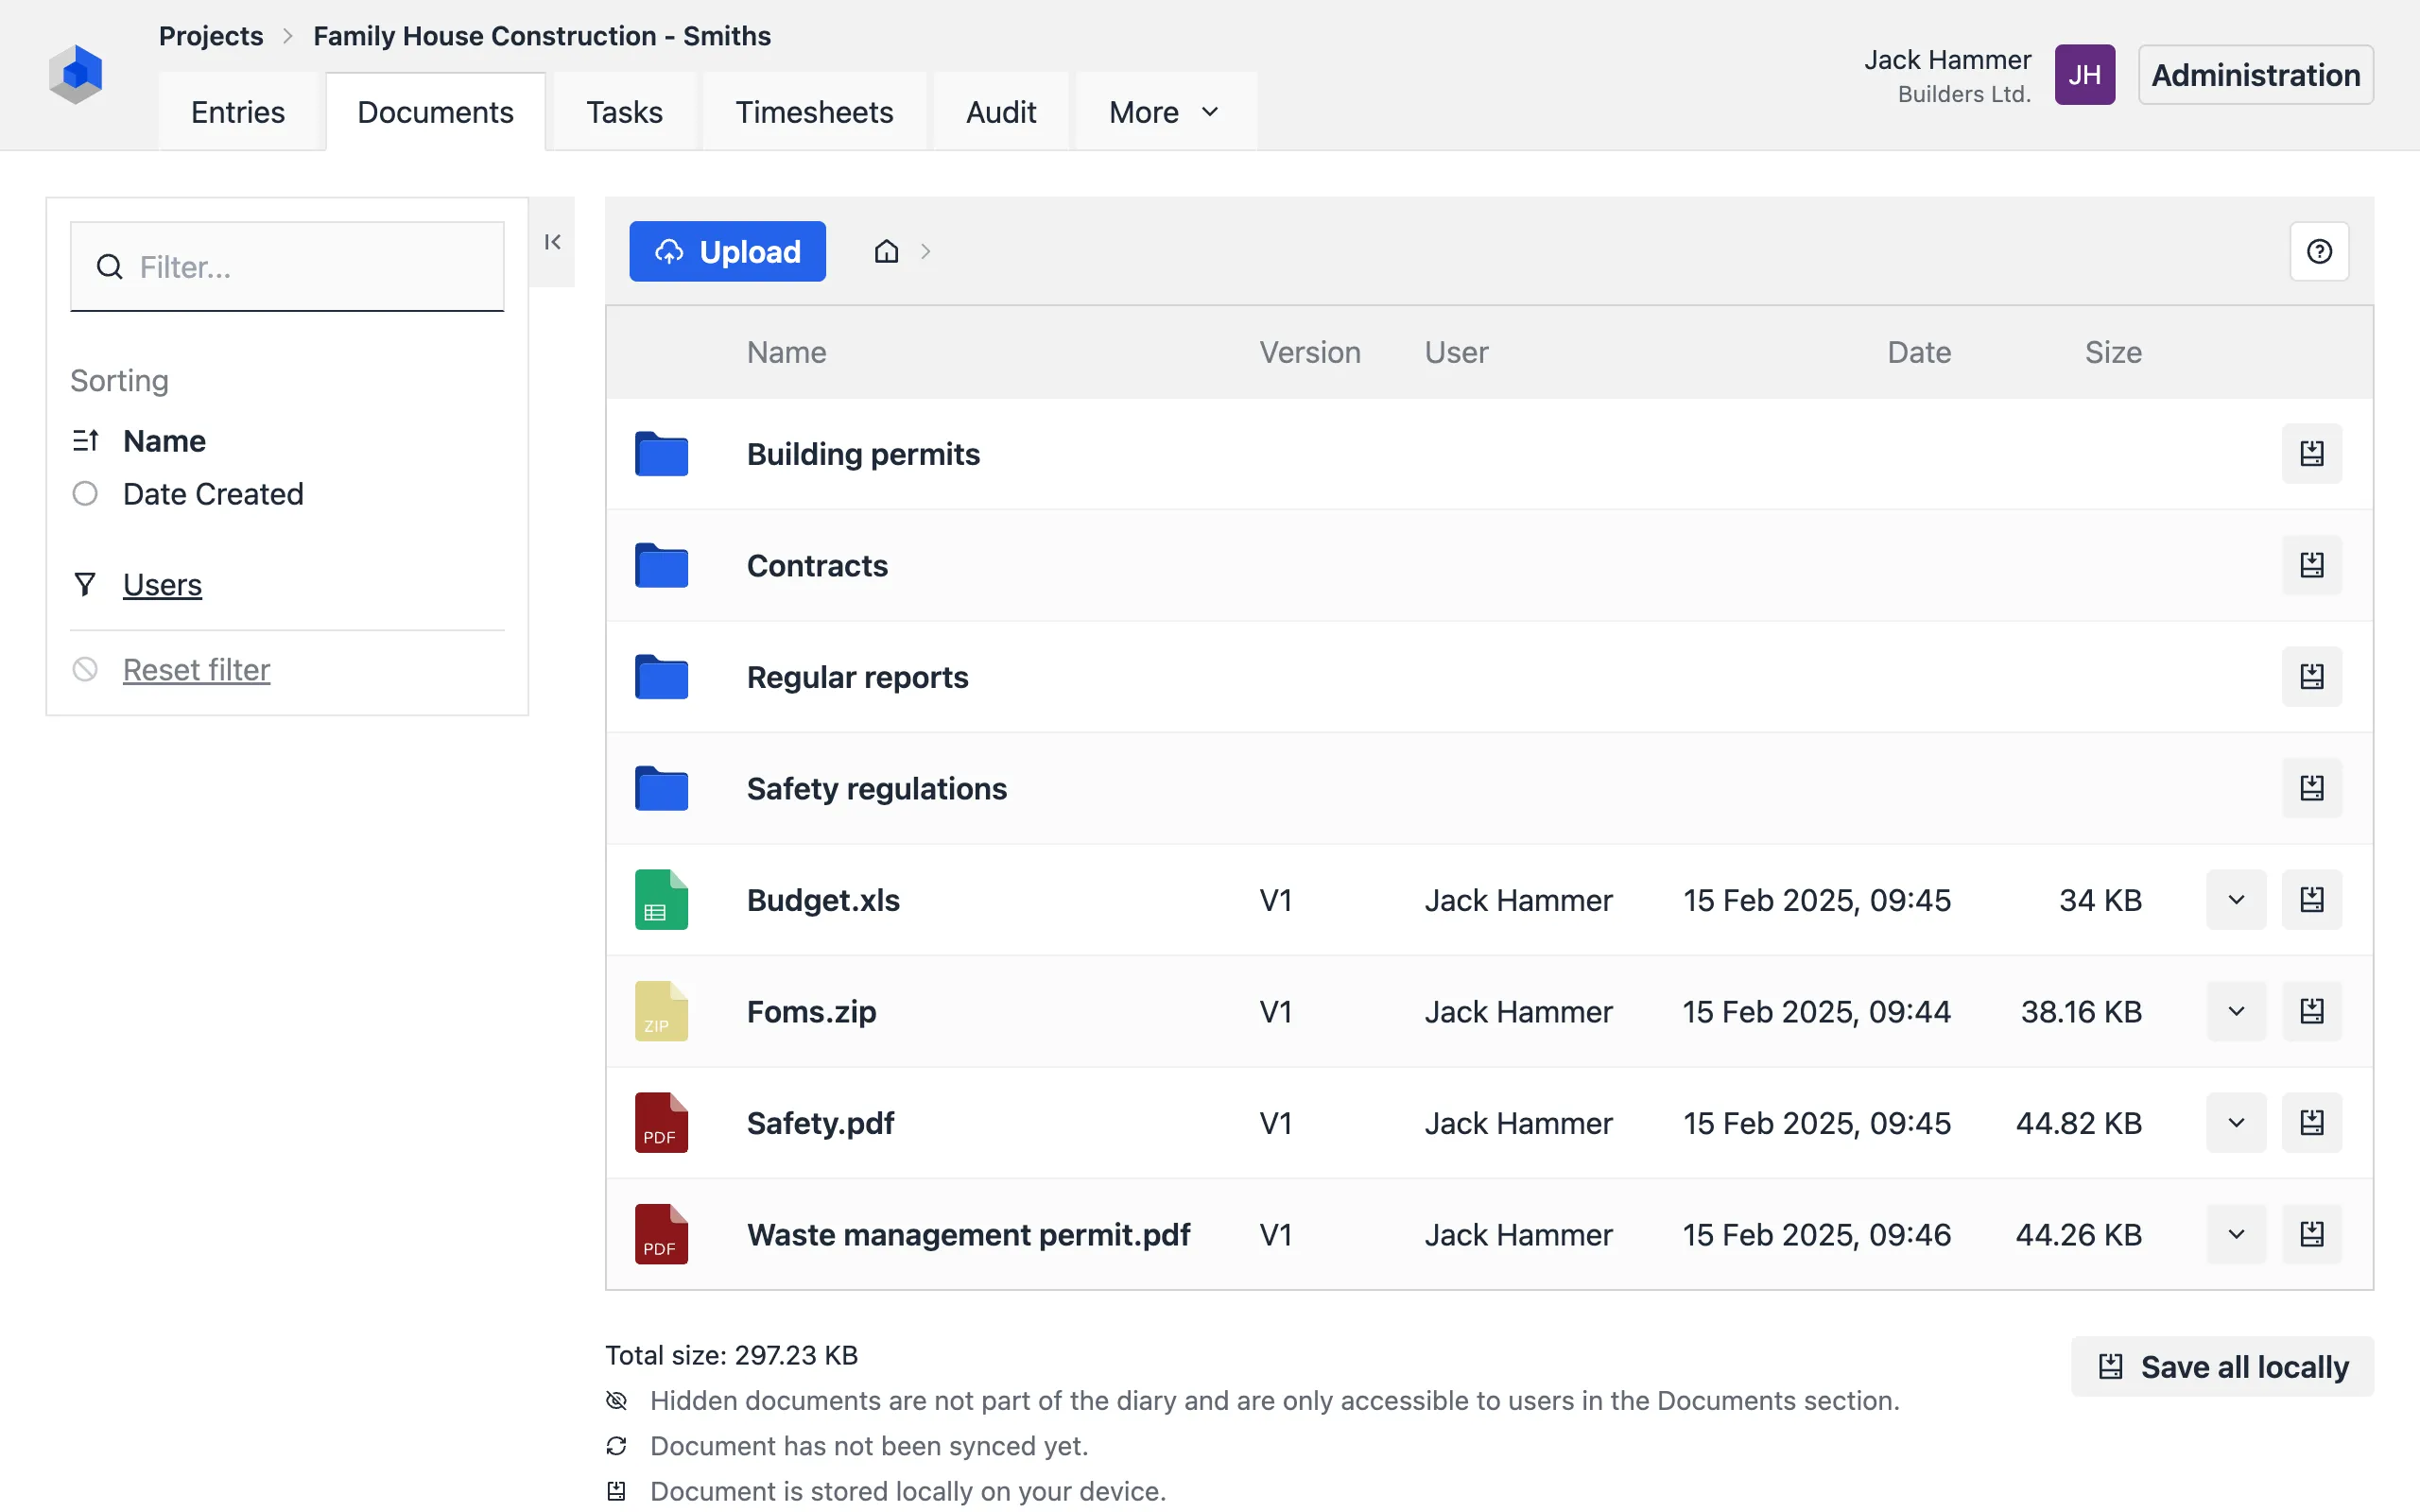
Viewing Documents
To view documents uploaded to a project, navigate to the Documents tab. Here you will see a list of all uploaded files. To download a specific file, click on its name.
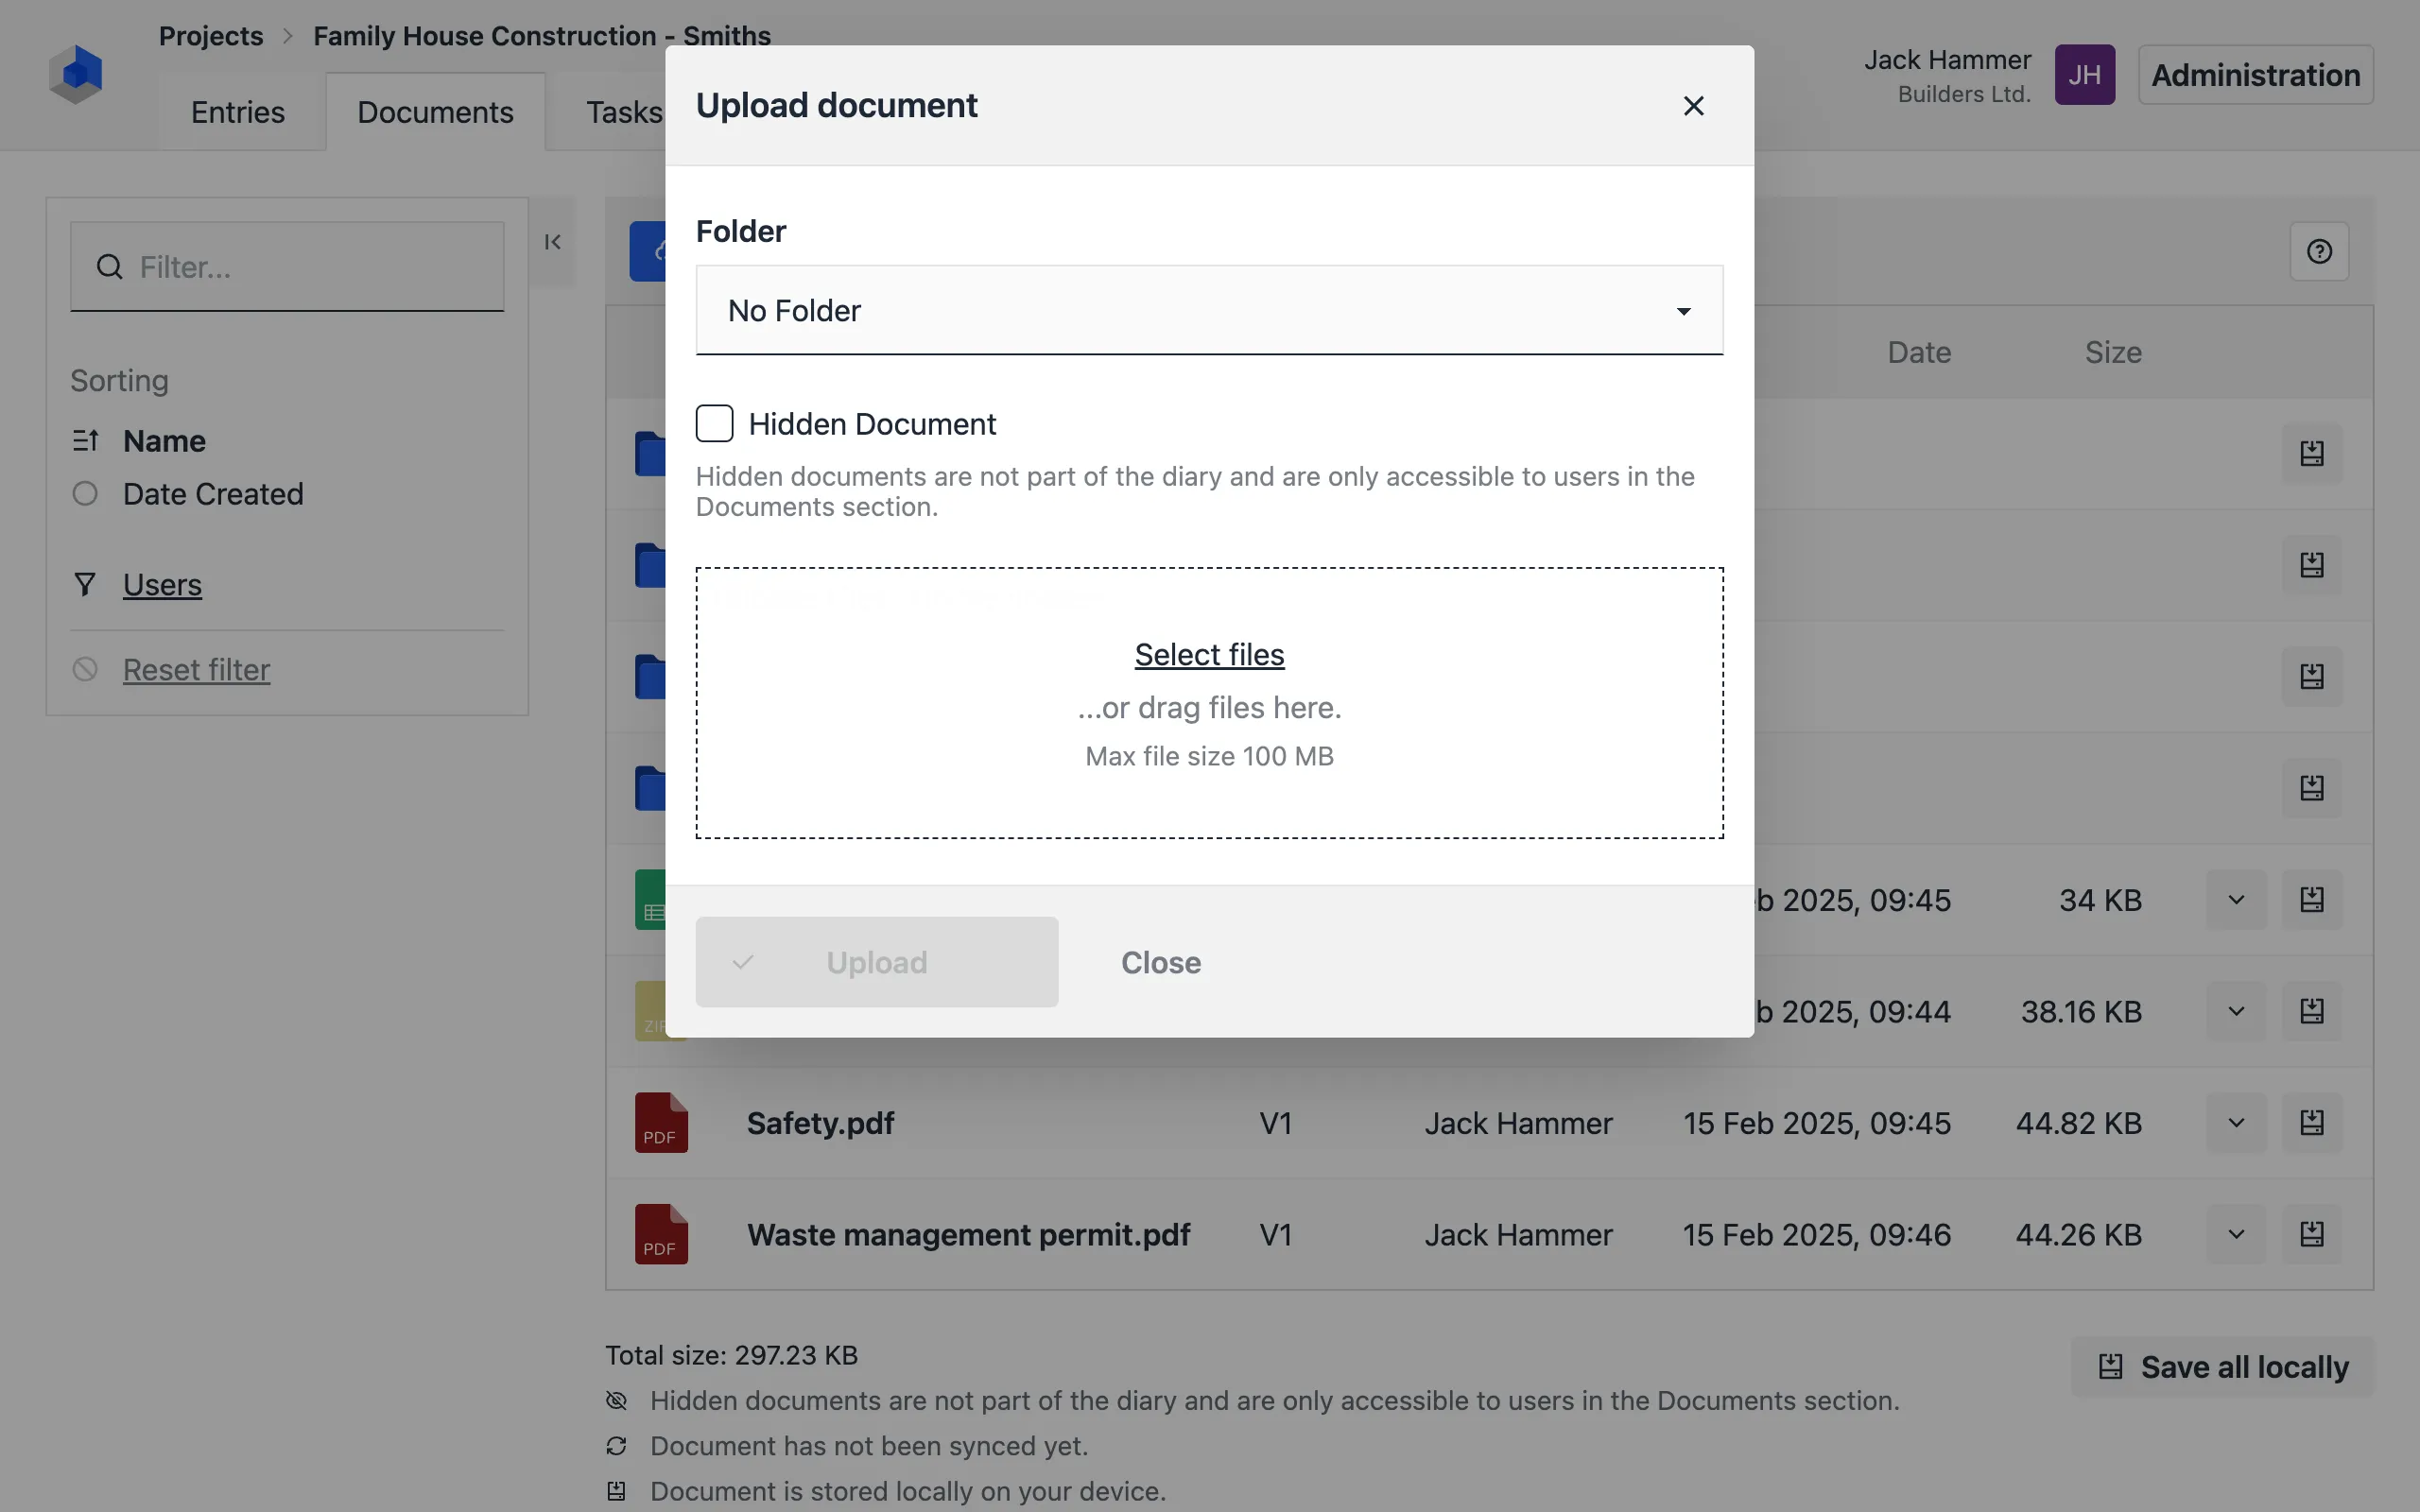
Uploading Documents
To upload a new document, follow these steps:
- Navigate to the Documents tab.
- Click the Upload button.
- Select files from your computer.
- Optionally specify the folder to which you want to upload the files.
- Click the Upload button to confirm.
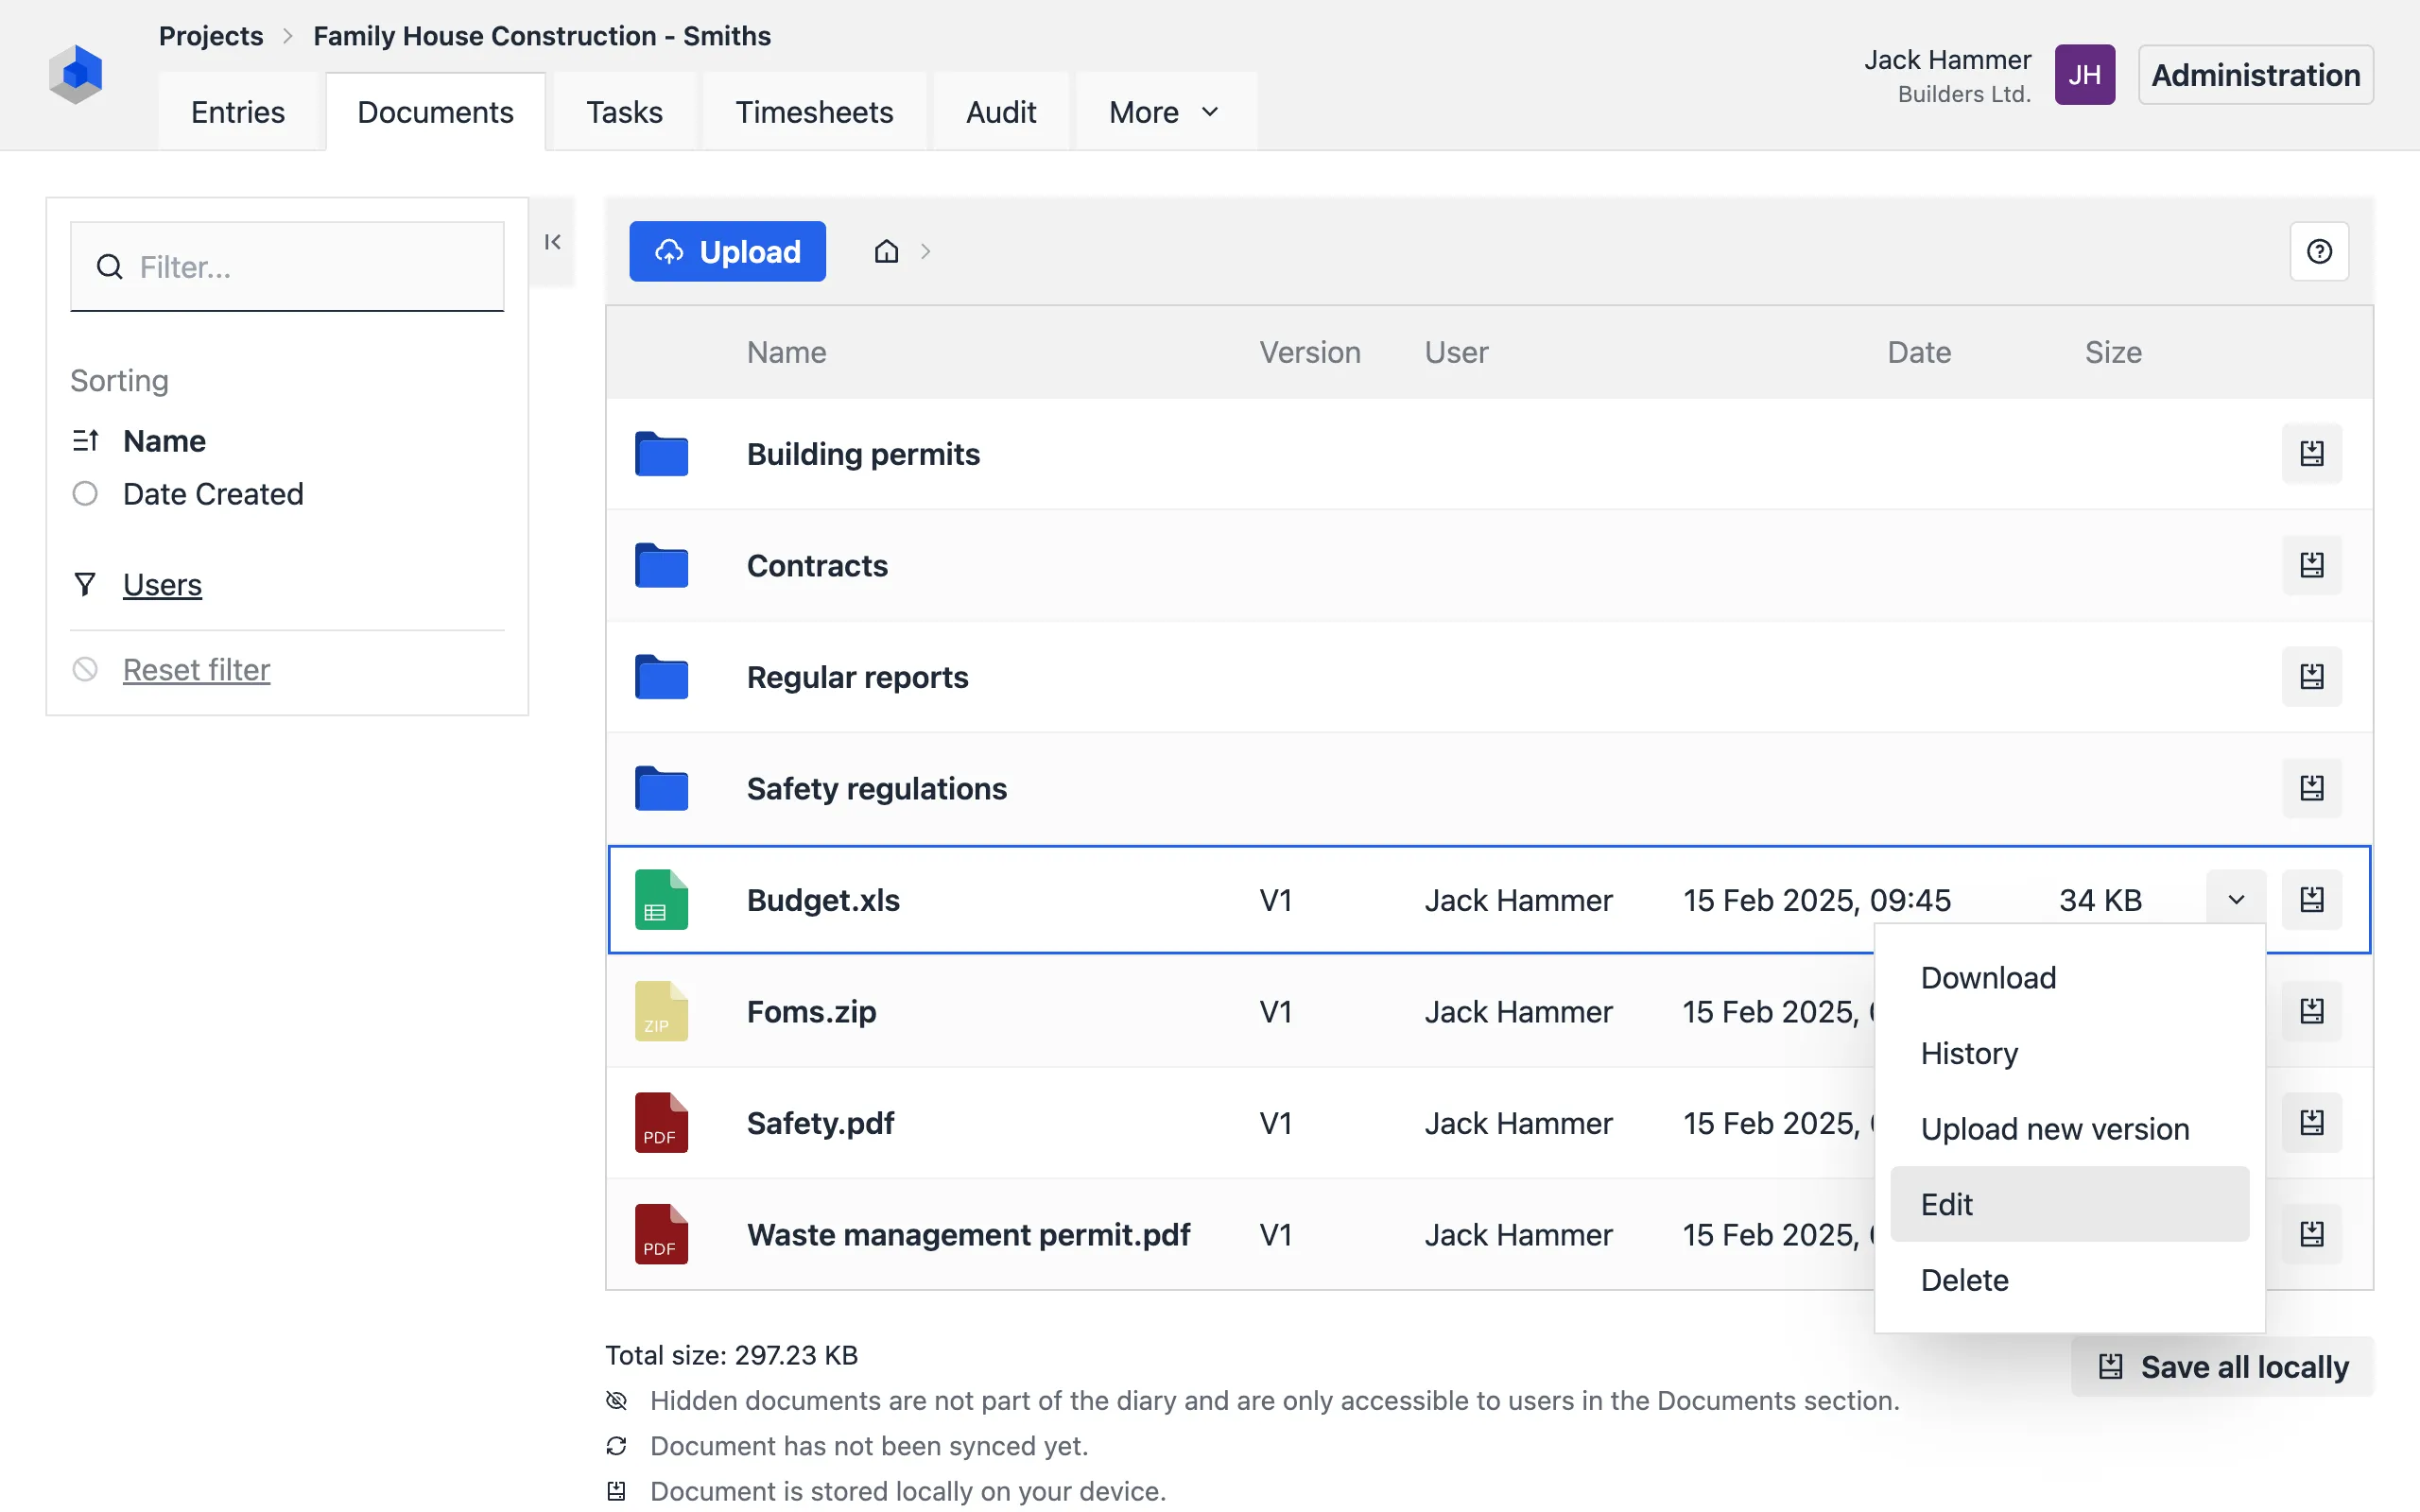
Editing Documents
Uploaded documents can be edited, such as renaming a file or adding a description. To edit a document, follow these steps:
- Locate the document on the Documents tab.
- Click the More [▼] button on the right side of the document row.
- Select Edit from the menu.
- Make the necessary changes in the displayed fields.
- Save the changes.
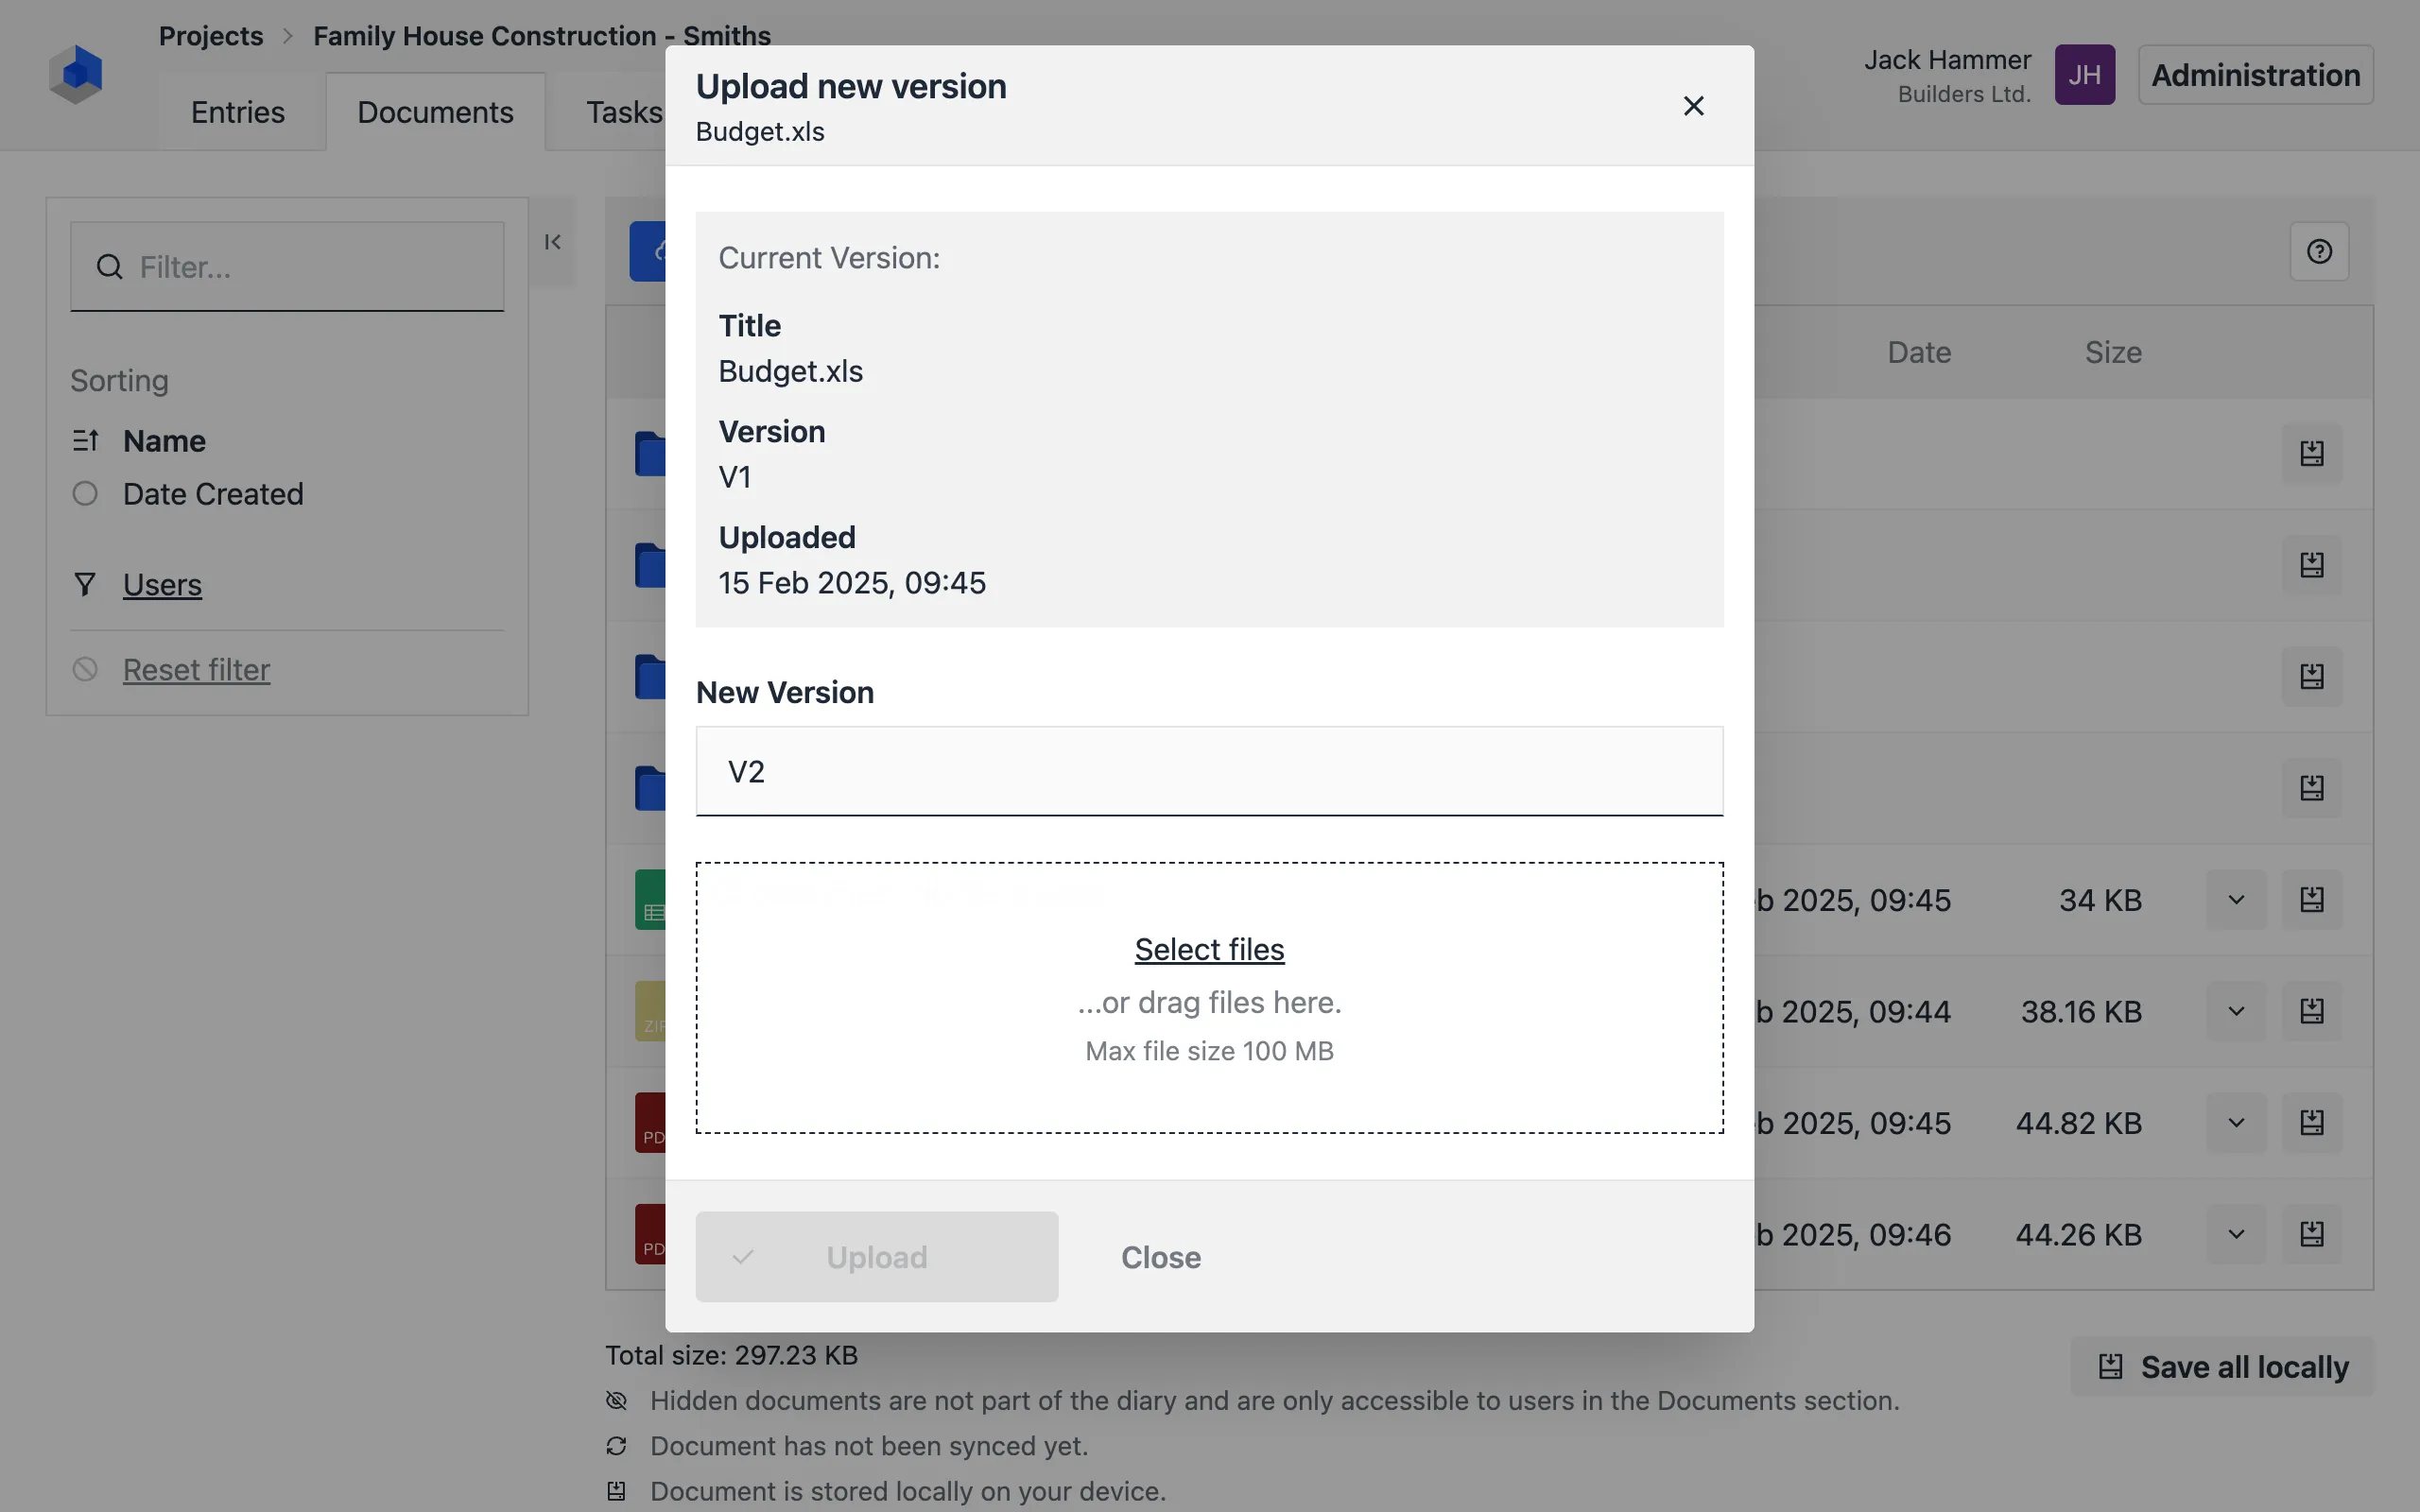
Uploading a New Document Version
Documents can be updated by uploading a new version. All previous versions remain available in the system and can be accessed via the History option.
To upload a new version of a document, follow these steps:
- Locate the document on the Documents tab.
- Click the More [▼] button on the right side of the document row.
- Select New Version from the menu.
- Upload the new version of the document.
- Optionally change the version label (e.g., V3). The default value is automatically incremental.
- Click the Upload button to confirm.
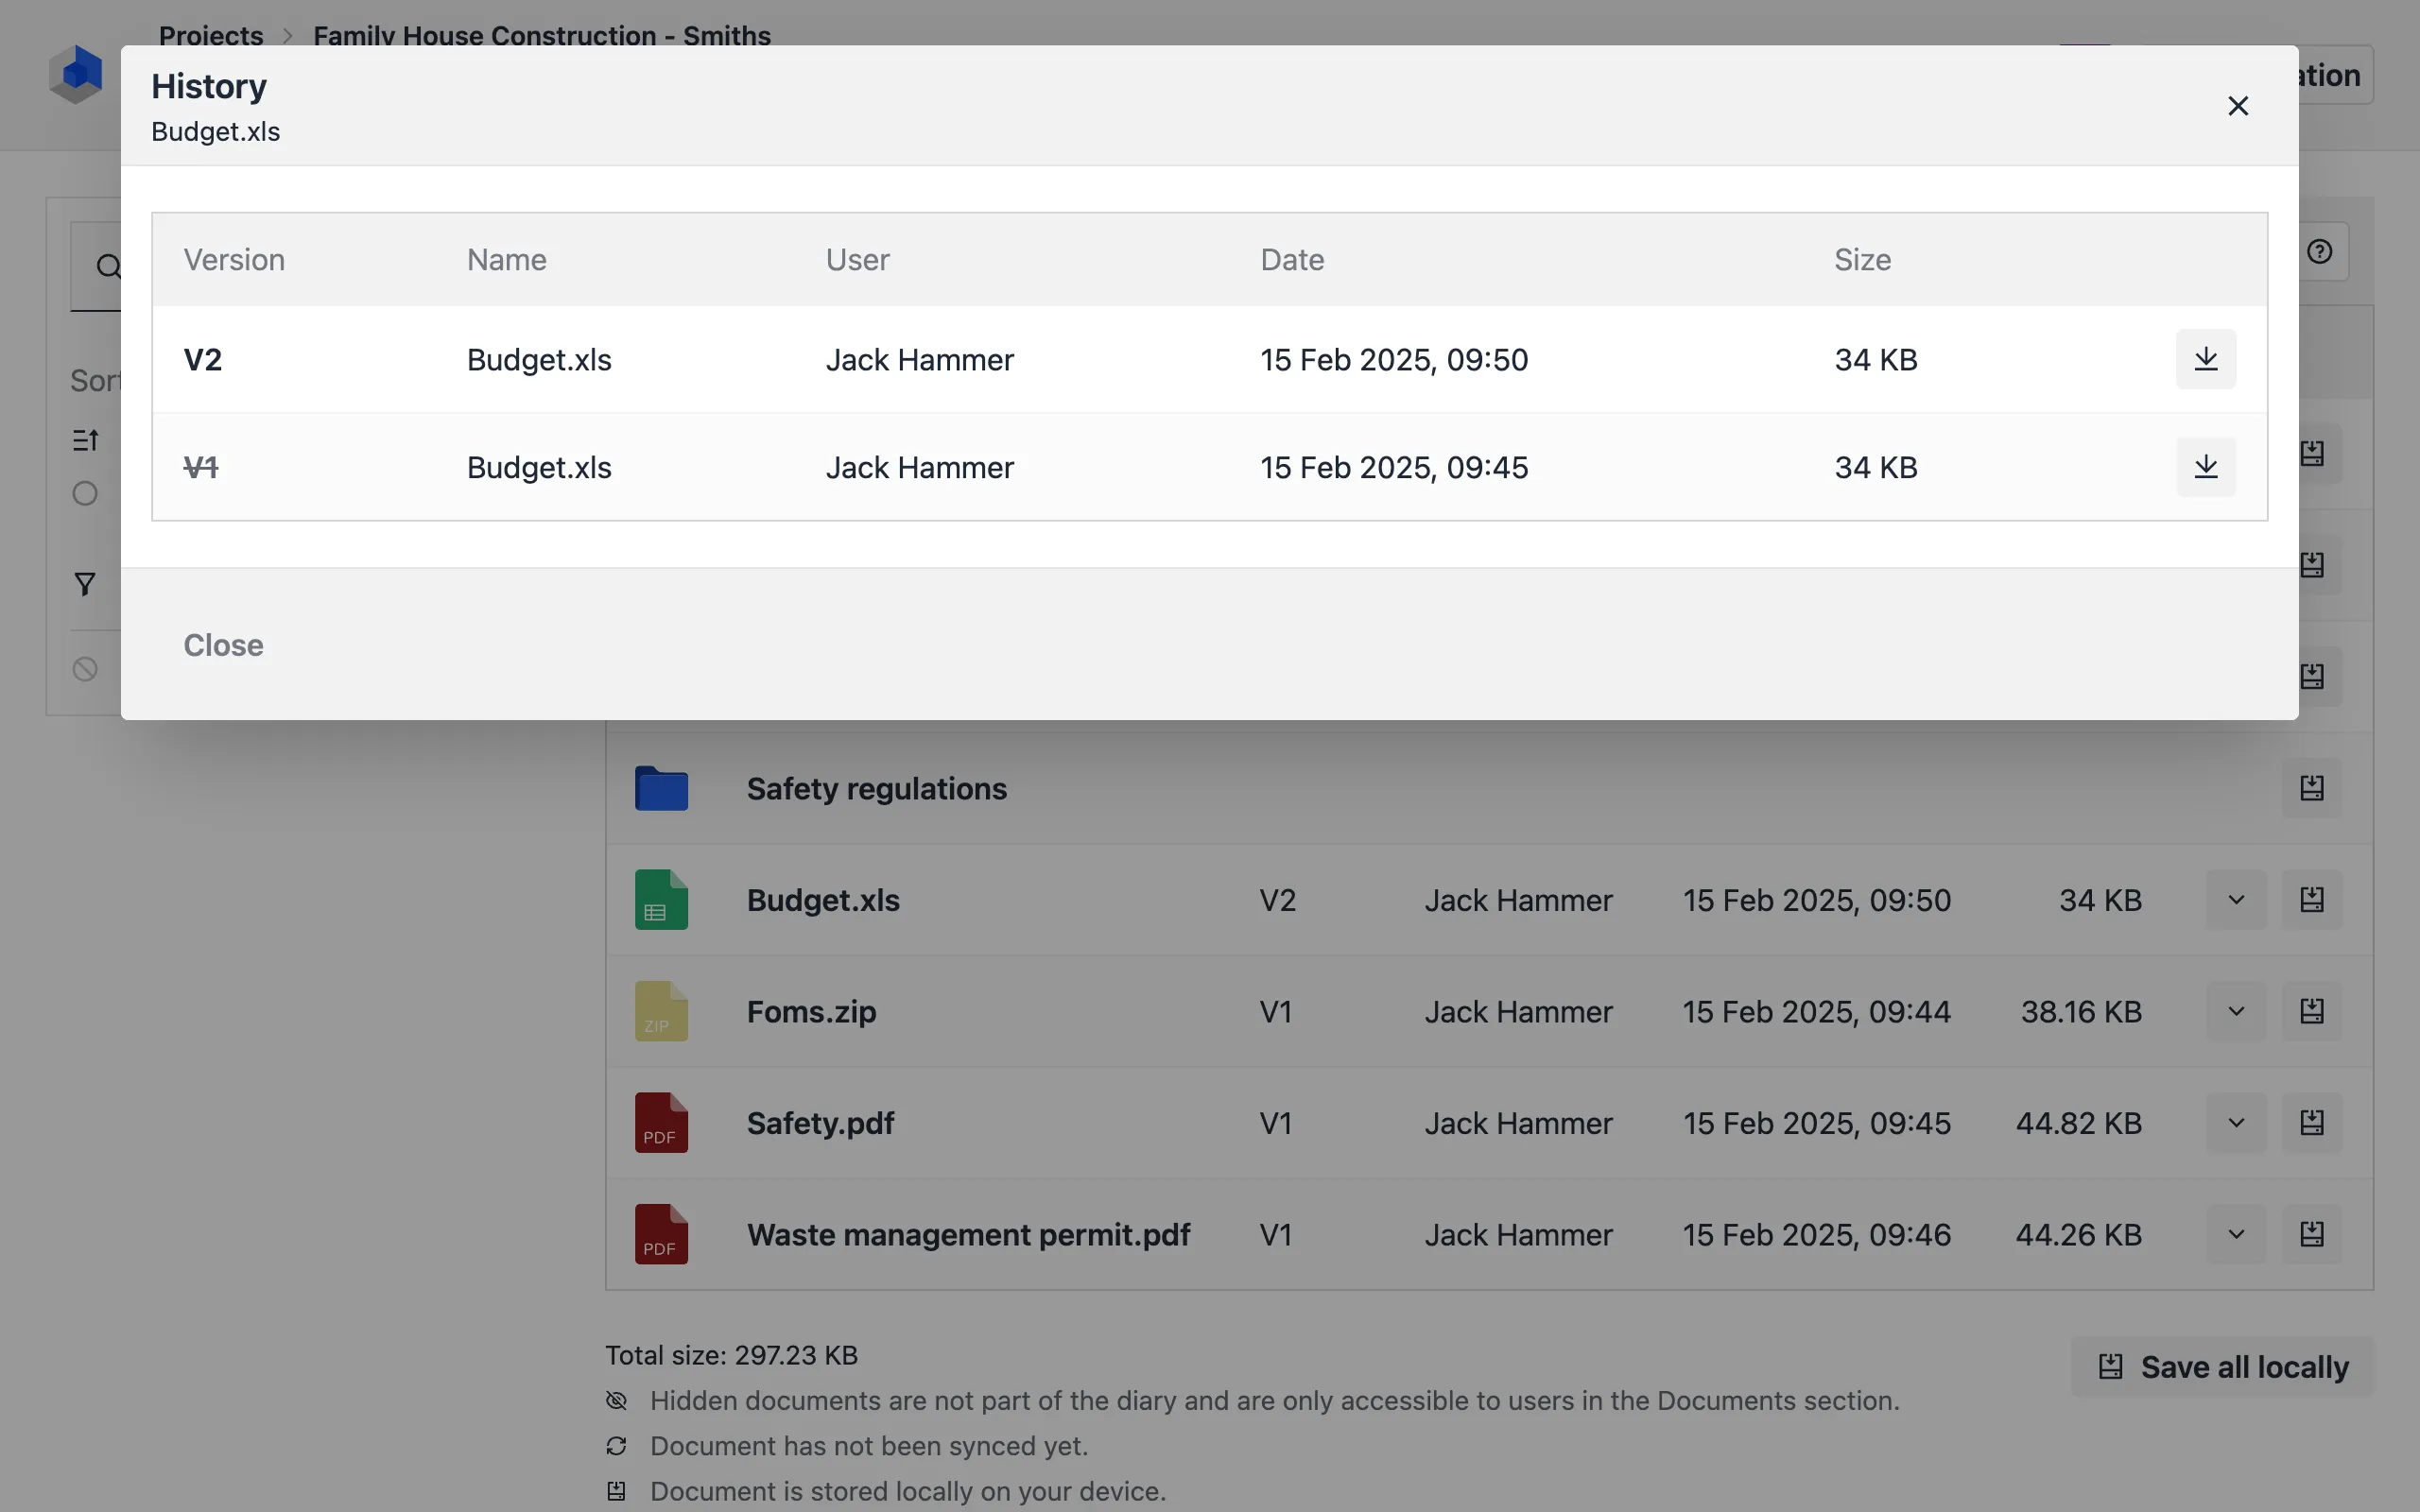
Document History
The document history (all uploaded versions) is available via the History option.
To view the history of a document:
- Locate the document on the Documents tab.
- Click the More [▼] button on the right side of the document row.
- Select History from the menu.
Deleting Documents
To delete a document from a project, follow these steps:
- Locate the document on the Documents tab.
- Click the Delete (trash icon) button on the right side of the document row.
- Confirm the deletion in the dialog box to permanently remove the file.